How to Fix Audio Not Working on Laptop

Is your laptop suddenly silent when you try to play music, watch videos, or join a call? It’s frustrating when the audio stops working, especially if you rely on your laptop every day.
But don’t worry—you don’t have to be a tech expert to fix this. In this guide, you’ll discover simple, effective steps to get your sound back quickly. Keep reading, and by the end, you’ll know exactly what to do to hear everything loud and clear again.
Credit: onsitego.com
Check Basic Audio Settings
Audio problems on a laptop often come from simple settings. Checking these settings first can save time and effort. Start by looking at the basic audio options on your device. These controls manage sound output and can stop audio if set wrong.
Verify Volume Levels
Check the volume slider on your laptop screen. Sometimes it is low or set to zero. Also, look at the physical buttons on your laptop if it has any. Make sure the volume is turned up enough to hear sound clearly.
Ensure Mute Is Off
Look for the mute icon on the taskbar or keyboard. A small speaker with a line means mute is on. Turn off mute by clicking the icon or pressing the mute button on the keyboard. This often fixes no sound issues fast.
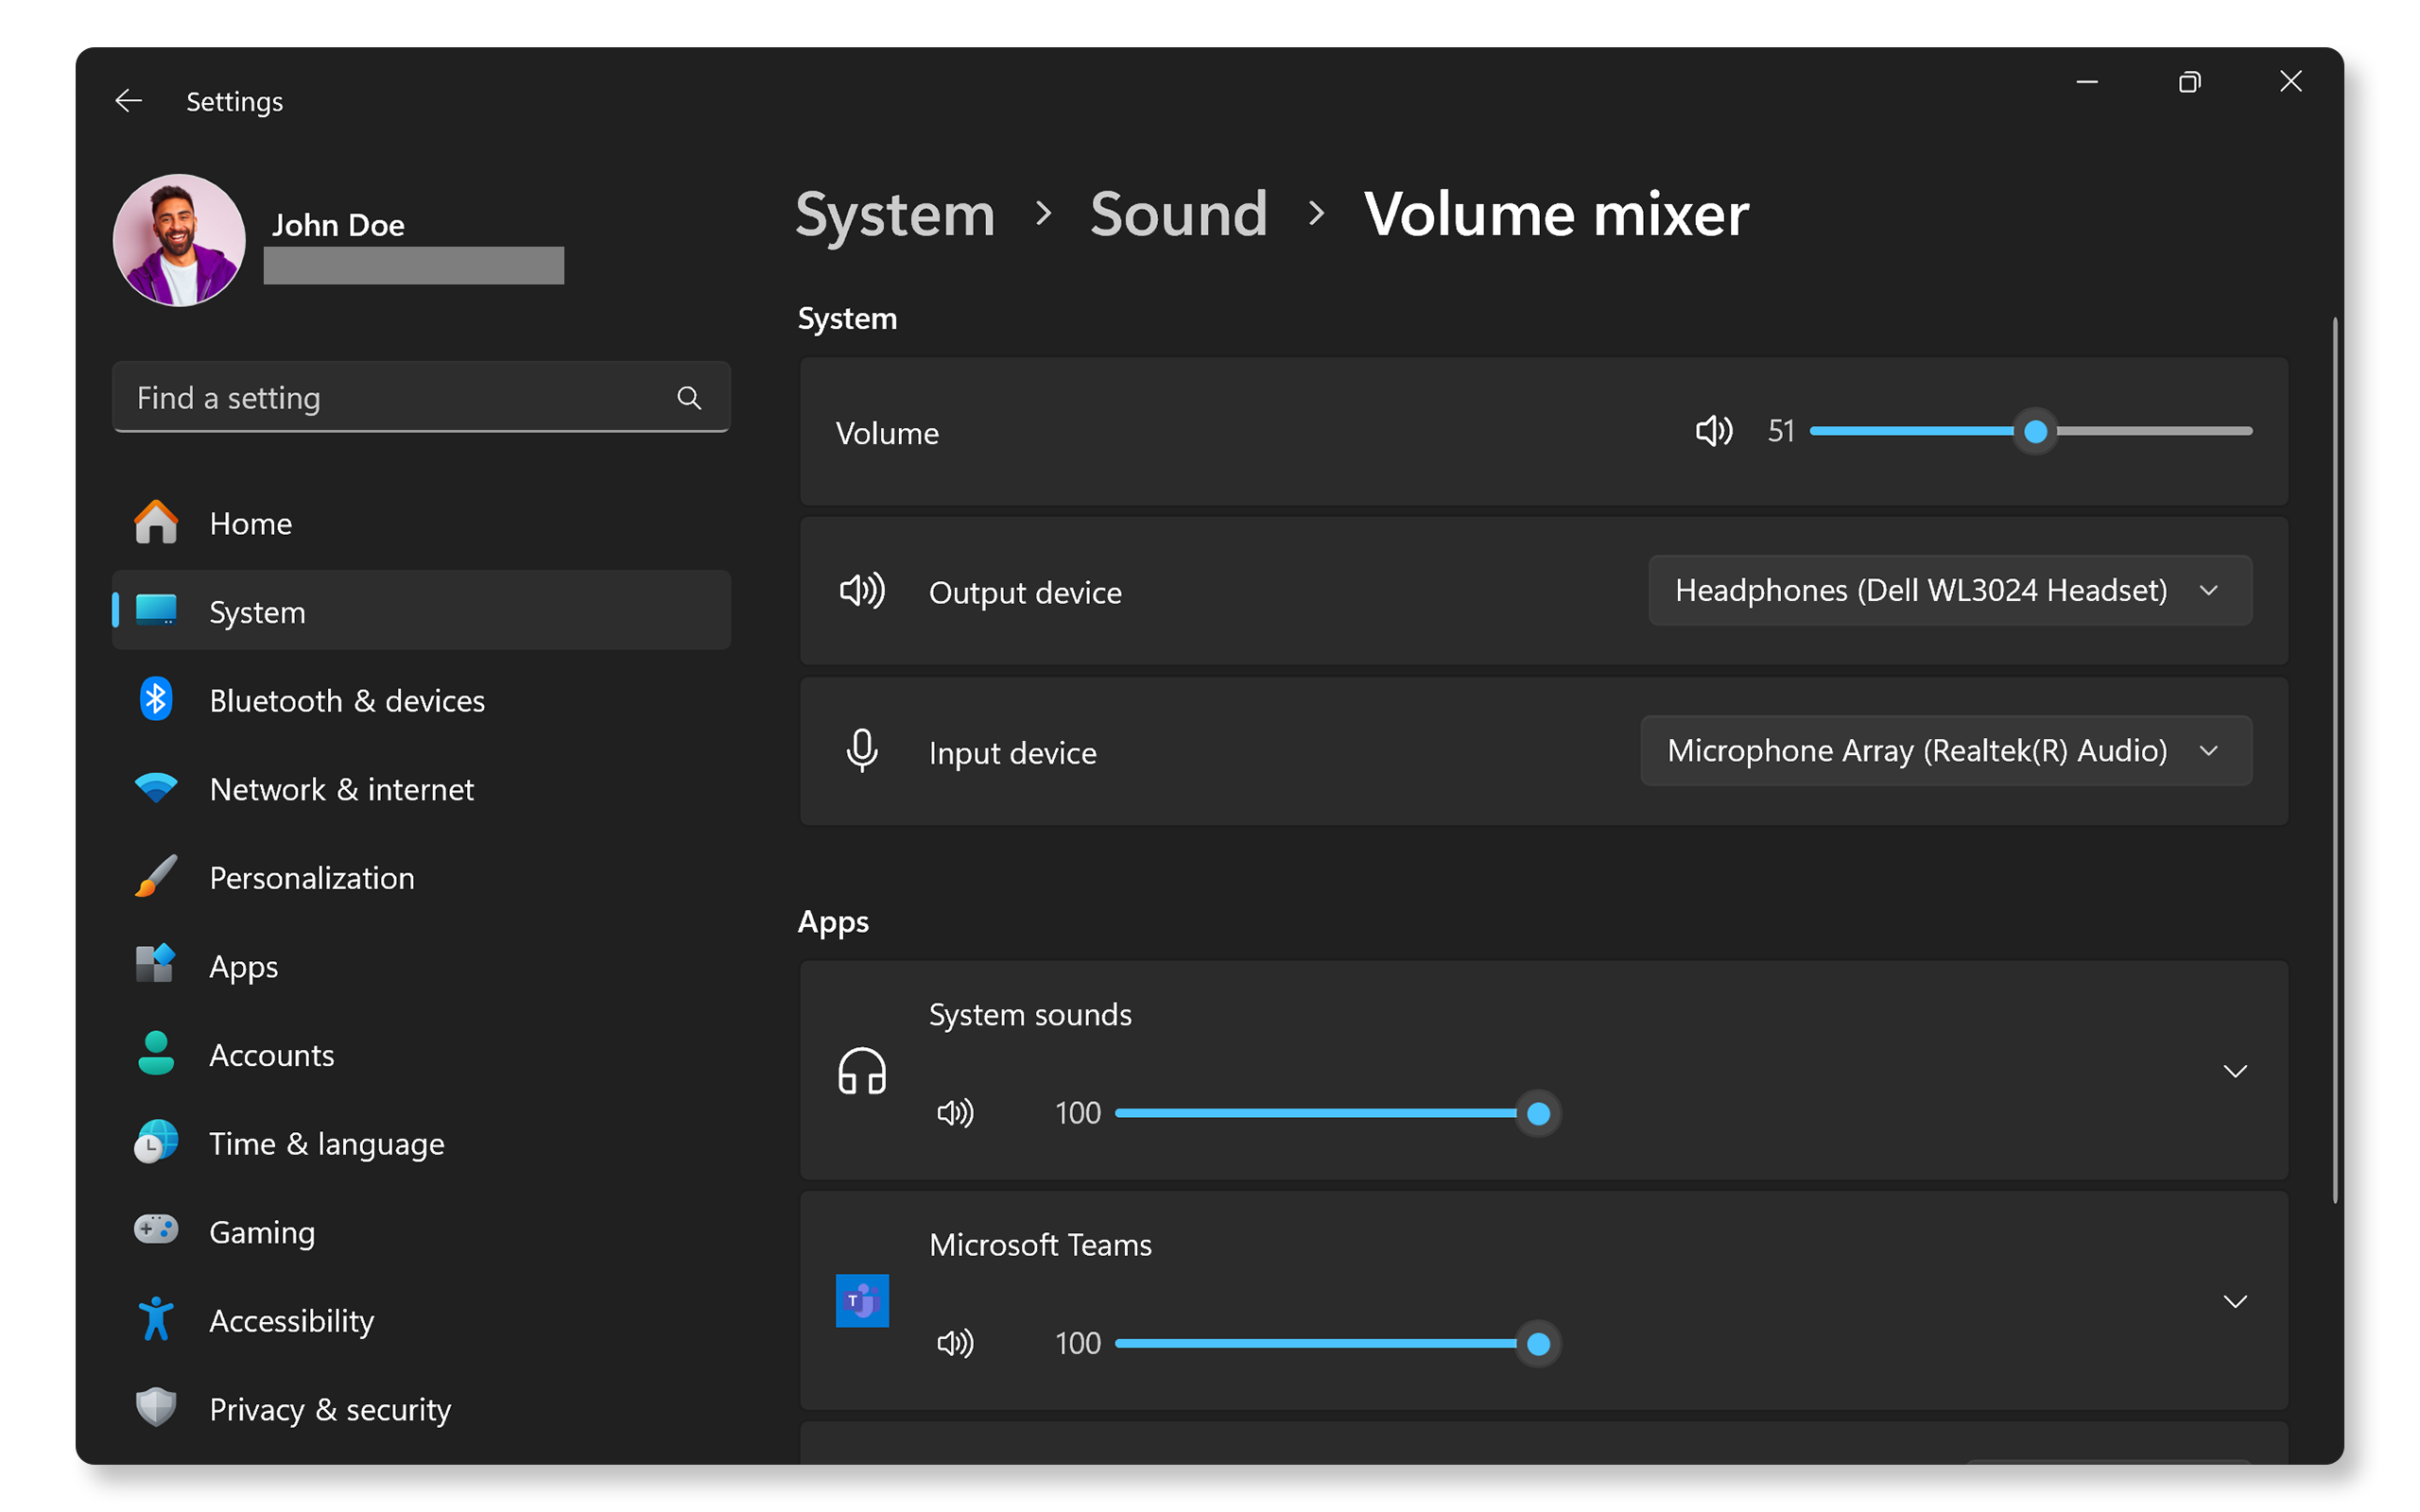
Select Correct Playback Device
Right-click the sound icon on the taskbar. Choose “Playback devices” or “Sound settings.” Check which device is set as default. Sometimes, the laptop uses headphones or other devices. Set the correct speakers or headphones as the default device.
Restart Audio Services
Restarting audio services can fix many sound problems on your laptop. These services control how your audio works. Sometimes, they stop working properly. Restarting them refreshes the system and solves issues quickly.
Restart Windows Audio Service
Press Windows + R keys to open the Run box. Type services.msc and press Enter. Find Windows Audio in the list. Right-click it and choose Restart. This restarts the audio service. Check if sound works after this step.
Restart Audio Endpoint Builder
In the same Services window, find Windows Audio Endpoint Builder. Right-click it and select Restart. This service manages audio devices. Restarting it can fix device connection problems. Test your audio to see if the issue is gone.
Update Audio Drivers
Updating audio drivers can fix many sound problems on your laptop. Drivers help your computer talk to the audio device. Old or broken drivers often cause no sound issues. Updating them ensures your laptop plays sound correctly and clearly.
There are two easy ways to update audio drivers. You can use the built-in Device Manager or download drivers from the laptop maker’s website. Both methods help keep your audio system up to date.
Use Device Manager To Update
Open Device Manager by typing it in the Windows search bar. Find the “Sound, video and game controllers” section. Right-click your audio device and select “Update driver.” Choose “Search automatically for updated driver software.” Windows will find and install the best driver. Restart your laptop after the update. This quick step can solve many sound problems.
Download Drivers From Manufacturer
Go to the laptop or audio device maker’s official website. Find the support or downloads section. Enter your laptop model or audio device name. Download the latest audio driver for your system. Open the downloaded file and follow the install instructions. Restart your laptop to finish the process. This method ensures you get the exact driver made for your device.
Run Audio Troubleshooter
Running the audio troubleshooter is a quick way to fix sound problems on your laptop. It checks for common issues and tries to solve them automatically. This tool is built into Windows and easy to use. Follow the simple steps below to start the troubleshooter and fix your audio.
Access Troubleshooter Settings
Click the Start menu and open Settings. Find the “Update & Security” section. Select “Troubleshoot” from the left menu. Then, click on “Additional troubleshooters.” Look for “Playing Audio” and click it. Press the “Run the troubleshooter” button to begin.
Follow On-screen Instructions
The troubleshooter will scan your laptop for audio issues. It will show instructions or questions on the screen. Follow each step carefully. The tool may ask you to select the device having problems. Wait while it fixes any detected issues. Restart your laptop if the troubleshooter suggests it.
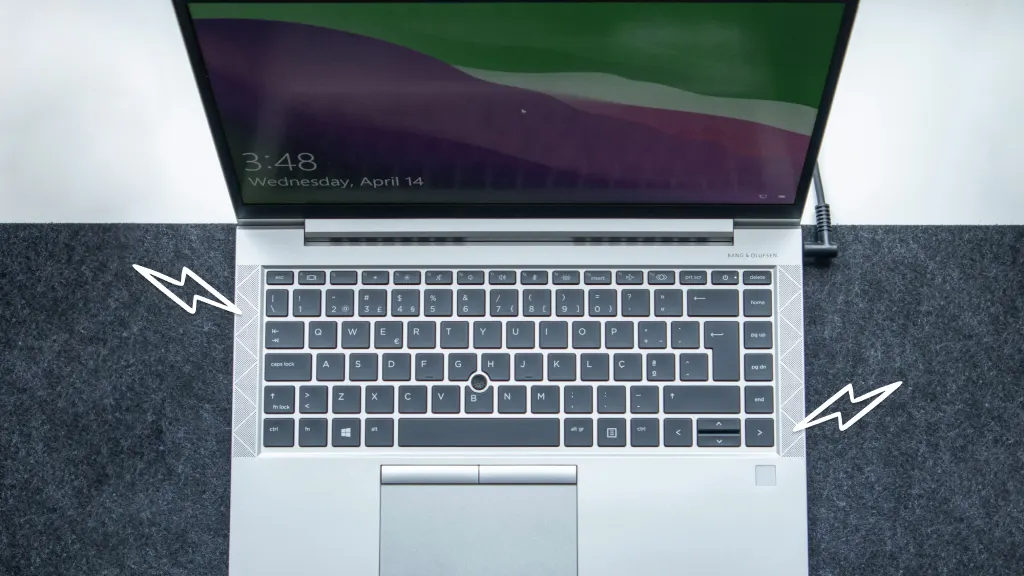
Check Physical Connections
Checking physical connections is the first step to fix audio problems on your laptop. Loose or faulty cables often cause sound issues. Make sure all plugs fit tightly and correctly. This simple check can save time and avoid frustration.
Inspect Headphone Jack
Look closely at the headphone jack on your laptop. Dust or dirt inside the jack can block sound. Use a soft brush or compressed air to clean it gently. Also, check for any damage or bent parts that stop good contact.
Try plugging in headphones and see if sound works. If no sound plays, the jack might be faulty. Testing with different headphones can confirm this.
Test External Speakers
Check the cables connecting your external speakers to the laptop. Make sure the power cable is plugged in and the speaker volume is up. Test the speakers with another device to confirm they work.
Swap cables or ports on your laptop if needed. A broken cable or port can stop sound. Confirming the speakers work outside your laptop helps find the exact problem.
Credit: www.dell.com
Adjust Sound Enhancements
Adjusting sound enhancements can solve many audio problems on laptops. These settings affect how your laptop processes and plays sound. Sometimes, they cause issues instead of improving sound quality. Turning off or resetting these enhancements can fix audio not working.
Disable Audio Enhancements
Open the Sound settings on your laptop. Find the playback device you use, like speakers or headphones. Right-click the device and select Properties. Go to the Enhancements tab. Check the box to disable all sound effects. Click Apply and then OK. Test your audio to see if the problem is gone.
Reset Sound Settings
Open the Control Panel and click on Sound. Select your playback device and click Properties. Go to the Advanced tab and click on Restore Defaults. This action resets all sound settings to their original state. Click Apply and then OK. Restart your laptop and check the audio again.
Check For Windows Updates
Checking for Windows updates is a simple step to fix audio problems on your laptop. Updates often include fixes for bugs and improve device drivers. Missing these updates can cause your sound to stop working.
Windows updates also improve system performance and security. Keeping your system current helps avoid many common issues. It is a quick way to ensure your laptop runs smoothly.
Install Pending Updates
Open the Settings app on your laptop. Go to the “Update & Security” section. Click on “Windows Update” to see if updates are available.
Click the “Download” or “Install” button for any pending updates. This process may take a few minutes. Make sure your laptop is plugged in to avoid interruptions.
Restart After Updates
After installing updates, restart your laptop. This step allows the updates to take full effect. A restart can fix many audio driver issues.
Once your laptop powers back on, test your sound again. Restarting often solves the problem without further steps. It refreshes system settings and drivers.
Credit: www.asurion.com
Use System Restore
Using System Restore can solve audio problems on your laptop quickly. It returns your computer to an earlier state. This method helps fix errors caused by recent changes. System Restore does not affect your personal files.
Choose Restore Point
Start by opening the System Restore tool on your laptop. You will see a list of restore points. Each point shows a date and time. Pick a restore point from before the audio stopped working. This step ensures you go back to a time when sound worked fine.
Restore System To Previous State
After selecting a restore point, click Next to continue. Confirm your choice and start the restore process. Your laptop will restart automatically during this step. Wait patiently as System Restore returns your system. Once done, check your audio to see if it works again.
Consult Hardware Support
Consulting hardware support is an important step if your laptop’s audio is not working. Sometimes the issue is due to a hardware problem. Software fixes may not solve it. Checking with hardware support helps find the root cause quickly.
This approach saves time and effort. Experts can guide you through tests and repairs. It ensures your laptop’s audio system works properly again.
Run Hardware Diagnostics
Most laptops have built-in hardware diagnostic tools. These tools check your audio hardware for faults. Running a diagnostic test can show if a component is damaged. Follow your laptop’s manual to start the test. The results help decide the next steps.
Contact Manufacturer Support
Manufacturer support teams have detailed knowledge of your laptop model. They offer help for hardware and software issues. Contact them for guidance on fixing audio problems. They may provide repair services or replacement parts. Keep your warranty details ready for faster service.
Frequently Asked Questions
Why Is My Laptop Audio Suddenly Not Working?
Audio issues can occur due to driver problems, muted sound, or incorrect audio settings. Check volume, restart your laptop, and update audio drivers to fix.
How Do I Update Audio Drivers On My Laptop?
Go to Device Manager, find Sound, video and game controllers, right-click your audio device, and select Update driver. Follow prompts to complete.
Can A Laptop’s Audio Jack Cause No Sound?
Yes, a damaged or dirty audio jack can disrupt sound output. Clean the jack gently or use external speakers to test the issue.
How To Check If Laptop Speakers Are Working?
Play audio from multiple apps and check volume settings. Use headphones to confirm if the problem is with speakers or software.
Conclusion
Fixing laptop audio issues can be simple with the right steps. Check your sound settings and connections first. Update your drivers to avoid common problems. Restart your laptop to refresh the system. Test with headphones or external speakers to find the issue.
Remember, small fixes often solve big problems. Keep your device clean and updated. Sound should work again quickly. Don’t give up—troubleshooting takes patience. Enjoy clear audio and better laptop use.