How to Fix Hairline Cracks above Doors And Windows

Have you noticed those tiny cracks appearing above your doors and windows? They might seem harmless at first, but if left unchecked, they can grow and cause bigger problems in your home.
You don’t have to live with these unsightly cracks or spend a fortune fixing them. You’ll discover simple, effective ways to repair hairline cracks quickly and keep your walls looking flawless. Keep reading, and you’ll learn how to protect your home and save time and money with easy steps you can do yourself.

Credit: www.trinity-rose.co.uk
Causes Of Hairline Cracks
Hairline cracks above doors and windows are common in many homes. Understanding why these cracks appear helps in fixing them properly. Several factors cause these small cracks, often related to the building’s structure and materials.
Structural Movement
Buildings settle over time. This natural movement can cause walls to shift slightly. When the frame moves, it creates stress on the wall surface. This stress results in tiny cracks near openings like doors and windows. Even small shifts can lead to visible cracks.
Temperature Fluctuations
Changes in temperature cause materials to expand and contract. Wood, plaster, and paint react differently to heat and cold. These changes create tension in the wall. Repeated cycles of heating and cooling make cracks appear. Areas near doors and windows are more vulnerable because they are exposed.
Material Shrinkage
New construction materials shrink as they dry. Plaster and drywall compound lose moisture and become smaller. This shrinking pulls on the wall surface. The tension can create fine cracks above openings. Shrinkage cracks often appear within the first few months after building or repairs.
Tools And Materials Needed
Fixing hairline cracks above doors and windows requires the right tools and materials. Using proper items makes the repair easier and lasts longer. Prepare everything before starting the job to save time and effort.
Basic Repair Tools
You will need a putty knife to apply fillers smoothly. A sanding block or sandpaper helps to smooth the surface after filling. A paintbrush or small roller is useful for touch-up painting. Also, keep a utility knife to clean loose paint and debris. A damp cloth helps to wipe dust from the area.
Recommended Fillers And Sealants
Use acrylic or latex caulk to seal small cracks. These sealants stay flexible and prevent new cracks. For larger cracks, use a lightweight spackle or joint compound. These fillers dry fast and are easy to sand. Choose paintable products to blend with your wall color. Always check product labels for indoor use and durability.
Preparing The Crack For Repair
Preparing the crack for repair is a key step. It helps the filler stick well and last long. Skipping this step can cause the repair to fail soon. Take your time to do it right.
Cleaning The Area
Start by removing dust and dirt from the crack. Use a brush or a vacuum cleaner. Clean surfaces help the filler stick better. Make sure no loose dust stays inside the crack. Wipe around the crack with a damp cloth to remove grime.
Removing Loose Material
Look closely for any loose paint or plaster. Use a putty knife or scraper to remove it. Loose pieces stop the filler from bonding well. Clear out all weak parts until the edges feel firm. This makes the repair stronger and neater.

Credit: www.reddit.com
Repair Techniques
Repairing hairline cracks above doors and windows helps prevent bigger problems. Using the right repair techniques can improve your walls’ look and strength. Follow these simple steps to fix small cracks and protect your home.
Filling Small Cracks
Start by cleaning the crack. Remove any dust or loose paint. Use a putty knife to apply a filler made for small cracks. Press the filler into the crack gently. Let it dry according to the product instructions. This step stops the crack from growing.
Smoothing The Surface
After the filler dries, use fine sandpaper to smooth the area. Sand until the surface feels even with the wall. This makes the repair less visible. Clean the dust with a soft cloth before painting or sealing.
Using Sealants For Flexibility
Apply a flexible sealant over the repaired crack. This helps the wall move without cracking again. Choose a sealant suitable for indoor use. Use a caulking gun to apply it evenly. Smooth the sealant with a wet finger or tool. This step protects the repair from future damage.
Painting And Finishing Touches
Painting and finishing touches bring your repair work to life. They hide cracks and make surfaces smooth. A neat finish improves your home’s look and protects repaired areas from damage.
Proper painting helps the patched spots blend well. It also stops moisture from entering cracks again. Careful finishing adds durability and keeps walls looking fresh longer.
Priming The Repaired Area
Start with a clean, dry surface. Apply a primer on the repaired cracks. Primer helps paint stick better and last longer. Use a brush or roller for even coverage. Let the primer dry fully before painting. This step prevents paint from peeling or fading.
Matching Paint Colors
Choose paint that matches your wall color exactly. Test small patches to check the color match. Use the same paint type as the original wall. Blend edges carefully to avoid visible lines. Matching paint keeps repairs invisible and natural.
Preventing Future Cracks
Preventing future hairline cracks above doors and windows is key to maintaining your home’s appearance. Small cracks can grow bigger over time. They can cause damage and cost more to repair. Taking steps to stop cracks from coming back saves time and money.
Controlling Moisture Levels
Moisture causes walls to expand and shrink. This movement creates cracks near doors and windows. Keep moisture low inside your home. Use a dehumidifier in damp rooms. Fix leaks around windows and roofs quickly. Proper ventilation helps reduce moisture buildup. Dry walls stay strong and crack-free.
Regular Maintenance Tips
Check walls often for new cracks or damage. Fill small cracks before they grow. Paint walls every few years to protect them. Clean gutters to avoid water damage. Trim trees near your house to prevent pressure on walls. Regular care keeps cracks from returning.

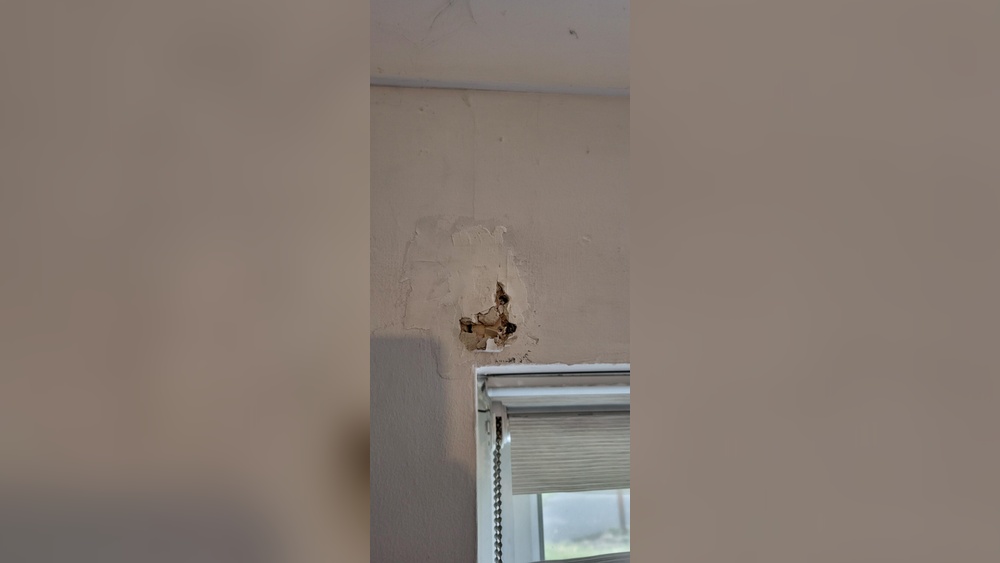
Credit: www.reddit.com
Frequently Asked Questions
What Causes Hairline Cracks Above Doors And Windows?
Hairline cracks often result from natural settling of the house or temperature changes. Poor construction or moisture can also cause these cracks. Identifying the cause helps in choosing the right repair method and preventing future damage.
How Do I Prepare Cracks Before Fixing Them?
Clean the crack area by removing dust and loose debris. Use a utility knife to widen the crack slightly for better filler adhesion. Proper preparation ensures a smooth and lasting repair.
Which Materials Are Best For Fixing Hairline Cracks?
Use spackling paste or acrylic caulk for small cracks. For larger cracks, apply joint compound or plaster. Choose materials that match your wall type for durable results.
How Long Does It Take For Repairs To Dry?
Drying time varies by material and thickness. Spackling paste usually dries within 1-2 hours. Joint compound may take up to 24 hours. Always follow the product instructions for best results.
Conclusion
Fixing hairline cracks above doors and windows prevents bigger damage. Start by cleaning the crack and removing loose pieces. Use a good filler and smooth it out carefully. Let it dry fully before sanding and painting. Regular checks help catch cracks early and save money.
Small cracks are easy to fix with simple tools. Keep your home safe and looking neat by acting fast. This simple repair protects your walls and your investment. Don’t ignore tiny cracks—they often mean deeper issues. Taking action now keeps your home strong and beautiful.